
How to Build a Gaming PC in Pakistan Step by Step Guide by Victory Computers

How to Build a Gaming PC in Pakistan
Building a gaming PC in Pakistan gives you control over performance, upgradeability, appearance, and budget. Instead of accepting the fixed specifications of a prebuilt computer, you can choose the processor, graphics card, motherboard, memory, storage, power supply, cooling, and case according to the games you actually want to play.
If you are wondering how to build a gaming PC in Pakistan, the process is easier to understand when divided into three stages: choosing compatible components, assembling them correctly, and configuring the finished system. This guide explains each stage step by step for beginners.
What Parts Do You Need to Build a Gaming PC?
A complete gaming PC normally requires the following core components:
- Processor (CPU): Handles game logic, applications, background tasks, and general system processing.
- Graphics Card (GPU): One of the most important components for gaming performance, resolution, visual quality, and frame rates.
- Motherboard: Connects the CPU, RAM, storage, graphics card, networking, USB devices, and other hardware.
- RAM: Provides short-term working memory for games, Windows, browsers, and applications.
- SSD: Stores Windows, games, software, and personal files.
- Power Supply (PSU): Delivers power to the entire computer.
- PC Case: Houses the components and determines factors such as airflow, radiator support, and component clearance.
- CPU Cooler: Keeps the processor within appropriate operating temperatures.
- Case Fans: Help move cool air into the case and warm air out.
The most important rule is compatibility. A powerful individual component is not useful if it cannot work properly with the rest of the system.
Step 1: Decide Your Gaming PC Budget
Set your total budget before buying individual components. This prevents a common beginner mistake: spending too much on one component and compromising important parts elsewhere.
Your budget should account for the complete tower as well as any peripherals you still need, such as a monitor, keyboard, mouse, headset, Wi-Fi adapter, UPS, or Windows licence.
For most gaming-focused builds, the graphics card deserves a significant part of the hardware budget because it has a major influence on gaming performance. However, the correct balance depends on your target resolution, refresh rate, games, productivity requirements, and future upgrade plans.
Pakistani component prices can change because of availability, exchange rates, imports, and individual models. Instead of relying on an old fixed-price build, check current component prices before placing an order.
Step 2: Choose the Right Processor
Your CPU affects gaming performance, multitasking, game streaming, productivity, and overall responsiveness. Both Intel and AMD offer processors suitable for gaming PCs, so you should compare actual platform cost and performance rather than choosing only by brand.
For a gaming-focused system, avoid pairing a very expensive CPU with an underpowered graphics card unless your specific games or professional applications are unusually CPU intensive.
You can also read our Intel vs AMD desktop processors for gaming comparison before deciding which platform better suits your build.
Step 3: Select the Graphics Card
The GPU is particularly important if your goal is 1080p, 1440p, 4K, high-refresh-rate, or graphically demanding gaming. Your choice should be based on the resolution of your monitor and the performance level you expect rather than simply buying the most expensive card available.
For example, a budget 1080p system does not need the same GPU class as a PC intended for high-refresh 1440p or demanding 4K gaming.
Before purchasing, check:
- Expected performance at your target resolution
- Available video memory for your intended workload
- Power requirements
- Recommended PSU capacity
- Physical card dimensions
- Case GPU clearance
- Required power connectors
- Display outputs needed by your monitor
For more buying guidance, see our budget graphics cards for 1080p gaming.
Step 4: Choose a Compatible Motherboard
The motherboard must support your processor’s socket and generation. Do not buy a motherboard simply because it physically looks compatible.
Check CPU support, chipset, BIOS compatibility, memory type, M.2 slots, PCIe connectivity, rear USB ports, networking, expansion requirements, and case form factor.
You should also decide whether features such as integrated Wi-Fi, Bluetooth, additional M.2 slots, faster networking, extra fan headers, or more USB connectivity are worth paying for.
If you need more guidance, our gaming motherboard guide for Pakistan covers additional motherboard options and buying considerations.
Step 5: Choose RAM for Your Gaming PC
Memory requirements depend on the games and applications you use. For a modern gaming build, 16GB is a practical starting point for many users, while 32GB can make sense for heavier multitasking, content creation, demanding games, modded titles, or users who want additional headroom.
Check whether your selected motherboard and CPU platform use DDR4 or DDR5. RAM generation is not interchangeable, so a DDR5 module cannot simply be installed in a DDR4 motherboard.
Using a matched memory kit is generally preferable to combining unrelated modules.
Step 6: Select an NVMe SSD
An SSD makes Windows, games, applications, updates, and file transfers considerably more responsive than relying on a traditional hard drive as the main drive.
Capacity matters as much as speed because modern games can consume substantial storage space. Choose enough capacity for Windows, your main applications, frequently played games, and reasonable free space.
Our guide to choosing an SSD for gaming explains the main factors to consider when selecting gaming storage.
Step 7: Never Ignore the Power Supply
The PSU is one component where saving money through an unknown low-quality model can create unnecessary risk. Select a reputable power supply with sufficient capacity and the correct connectors for your CPU and graphics card.
Do not select a PSU based only on the wattage printed on the box. Consider the specific model, build quality, protections, warranty, efficiency, available connectors, and requirements of your components.
Allowing sensible power headroom can also make future upgrades easier.
Step 8: Choose a Case with Good Airflow
Your case must physically accommodate the motherboard, graphics card, CPU cooler, power supply, storage, and any radiator you intend to install.
Good airflow is more useful than choosing a case purely for RGB lighting. Look for adequate ventilation, sensible fan positions, cable-management space, dust filtration where practical, and enough clearance for your hardware.
Step 9: Check Every Component for Compatibility
Before placing the order, perform one final compatibility check.
| Component | What to Check |
|---|---|
| CPU + Motherboard | Socket, chipset and BIOS support |
| RAM + Motherboard | DDR generation, capacity and supported configuration |
| GPU + Case | Card length, thickness and available slots |
| CPU Cooler + Case | Cooler height or radiator support |
| PSU + GPU | Capacity and required power connectors |
| Motherboard + Case | ATX, Micro-ATX, Mini-ITX or applicable form factor |
| SSD + Motherboard | Compatible M.2/SATA interface and available slot |
Step 10: Prepare Your Workspace
Build the computer on a large, clean, well-lit workspace. Keep screws and accessories organized and have the motherboard, case, cooler, and PSU manuals available.
A basic screwdriver is sufficient for many installations. Handle components carefully, avoid touching exposed contacts unnecessarily, and take sensible precautions against static electricity.
Step 11: Install the Processor
Place the motherboard on a stable surface. Open the CPU socket mechanism and carefully align the processor according to the socket markings and manufacturer instructions.
Never force the processor into the socket. When properly aligned, it should seat correctly without excessive pressure.
Step 12: Install the RAM
Open the appropriate DIMM slot retention clips and align the memory module with the slot notch. Press firmly and evenly until the module is fully seated.
If you are using two modules on a motherboard with four slots, consult the motherboard manual for the recommended slots.
Step 13: Install the M.2 NVMe SSD
Locate the correct M.2 slot, remove its heatsink if present, insert the SSD at the appropriate angle, secure it according to the motherboard design, and reinstall the heatsink where applicable.
Remember to remove any protective film from an M.2 thermal pad before reinstalling its heatsink.
Step 14: Install the CPU Cooler
Install the cooler according to its manufacturer instructions because mounting systems vary between sockets and cooler models.
Apply thermal compound if the cooler does not already have suitable thermal material applied. Connect the cooler fan or pump to the correct motherboard header.
Step 15: Install the Motherboard in the Case
Check that the motherboard standoffs are positioned correctly for your board’s form factor. Install the I/O shield first if your motherboard uses a separate shield.
Carefully lower the motherboard into position, align it with the standoffs and rear I/O opening, and secure it without overtightening the screws.
Step 16: Install the Power Supply
Mount the PSU in the appropriate case position. If the case has a ventilated bottom with a dust filter, PSU fan orientation should generally follow the case manufacturer’s recommended airflow arrangement.
Route the major power cables before installing the graphics card if that makes cable management easier.
Step 17: Install the Graphics Card
Remove the necessary expansion-slot covers, install the graphics card in the primary PCIe slot recommended by the motherboard manufacturer, and secure it to the case.
Connect the required GPU power cable or cables carefully. Make sure connectors are fully seated and follow the graphics-card and power-supply manufacturer’s instructions, especially for high-power GPUs.
Step 18: Connect Front-Panel and Power Cables
Connect the motherboard’s main power cable, CPU power cable, front-panel power switch, USB headers, front audio, case fans, storage cables where required, and graphics-card power.
The tiny front-panel connectors are one of the easiest places for beginners to make a mistake, so use the motherboard manual rather than guessing their positions.
Step 19: Perform the First Boot
Connect your monitor to the graphics card when using a dedicated GPU, then attach the keyboard and power cable. Switch on the PSU and press the case power button.
Enter the BIOS/UEFI and confirm that the processor, memory, and storage are detected. Check CPU temperatures before proceeding.
If the system does not start, recheck power connections, RAM seating, GPU installation, front-panel connectors, and monitor connection before assuming a component is defective.
Step 20: Install Windows and Drivers
After the hardware is functioning correctly, install your operating system and required drivers. Install the appropriate motherboard/chipset, graphics, networking, audio, and Windows updates from official sources.
After setup, confirm the correct display resolution and refresh rate in Windows, particularly if you use a high-refresh gaming monitor.
Step 21: Test Temperatures and System Stability
Do not consider the build finished simply because Windows starts. Check CPU and GPU temperatures under realistic loads and verify that fans operate correctly.
Run your normal games and applications while watching for crashes, abnormal temperatures, unexpected shutdowns, graphical problems, or unusual fan behavior.
Pros and Cons of Building Your Own Gaming PC
Pros
- Better control over the budget: You decide which components deserve more of your money.
- Full component choice: CPU, GPU, RAM, storage, PSU, cooling, motherboard, and case can be selected individually.
- Easier future upgrades: A well-planned custom PC can make GPU, RAM, SSD, cooling, and other upgrades straightforward.
- Better quality control: You can avoid weak power supplies, inadequate cooling, or other compromises sometimes found in poorly configured systems.
- Personalization: You control the case, cooling layout, lighting, storage configuration, and overall appearance.
Cons
- Compatibility requires research: CPU sockets, motherboard chipsets, RAM generations, cooler mounts, PSU connectors, and case clearances must match.
- Assembly takes time: A first build can take considerably longer than buying a ready-to-use computer.
- Troubleshooting is your responsibility: If the PC fails to boot, you need to determine which connection or component is causing the problem.
- Warranty can be component-specific: Different parts may have different seller, distributor, or manufacturer warranty arrangements.
Why We Recommend a Custom Gaming PC
A custom gaming PC makes the most sense for buyers who want control over performance, component quality, upgradeability, and budget allocation. A prebuilt system can still be the better option for someone who prioritizes convenience, simplified support, and minimal assembly or troubleshooting.
If you are deciding between these approaches, read our prebuilt PC vs custom PC in Pakistan guide.
Common Gaming PC Building Mistakes to Avoid
- Buying a CPU and motherboard with incompatible sockets or BIOS support
- Buying DDR5 memory for a DDR4 motherboard or vice versa
- Choosing a low-quality PSU simply to reduce the total price
- Forgetting GPU and CPU-cooler clearance inside the case
- Connecting the monitor to the motherboard instead of the dedicated GPU
- Installing RAM in the wrong slots for the intended configuration
- Forgetting the CPU cooler’s protective film
- Leaving important power connectors partially inserted
- Ignoring airflow and fan orientation
- Spending heavily on appearance while compromising performance-critical components
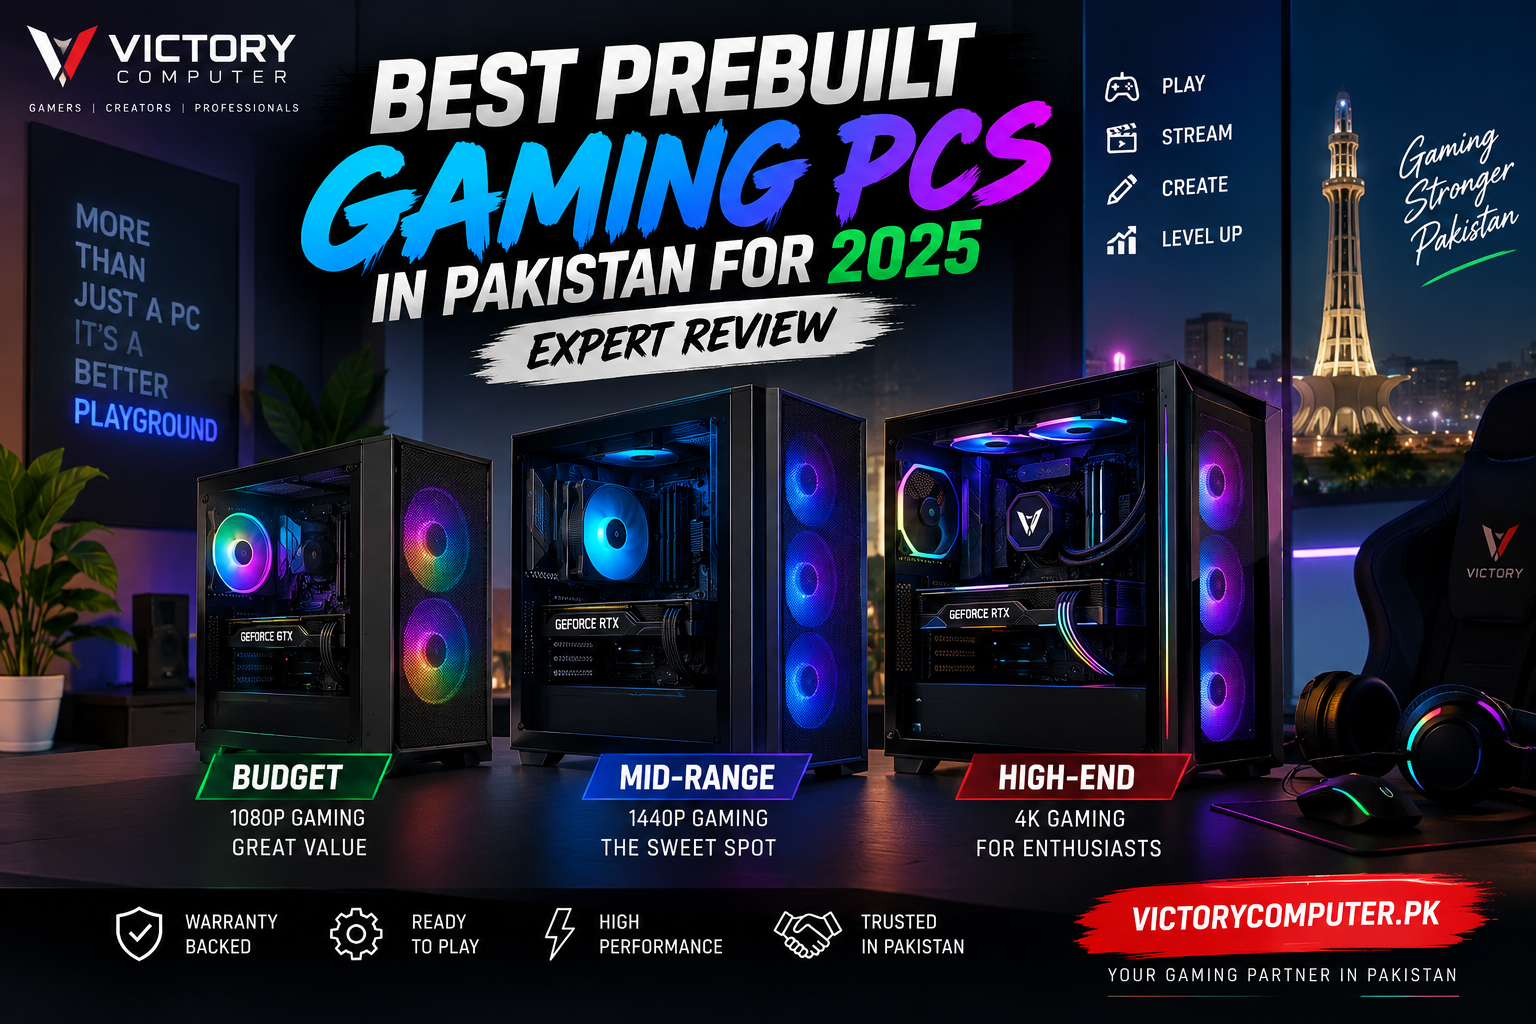
Gaming PC Build Priorities by Budget
| Build Goal | Main Priority | Suitable For | Main Trade-off |
|---|---|---|---|
| Budget Gaming PC | Strong value GPU + balanced CPU | 1080p gaming and esports | Less upgrade/performance headroom |
| Mid-Range Gaming PC | Balanced CPU/GPU with sufficient RAM and SSD | High-quality 1080p and 1440p gaming | Higher initial cost |
| High-End Gaming PC | High-performance GPU, CPU and cooling | High-refresh 1440p, demanding games and 4K workloads | Significantly higher cost and power requirements |
These categories describe build priorities rather than fixed prices. Hardware pricing in Pakistan changes, so compare current prices before deciding how much of your budget to allocate to each component.
Should You Build a Gaming PC or Buy a Gaming Laptop?
A desktop gaming PC is usually the better choice when upgradeability, cooling flexibility, component choice, and maximum performance for the budget are priorities. A gaming laptop makes more sense if portability and an integrated display, keyboard, battery, and compact design are essential.
For a deeper comparison, see our gaming laptop vs gaming desktop guide.
Buying Gaming PC Components in Pakistan
When shopping for PC components in Pakistan, compare more than the advertised price. Confirm the exact model number, condition, included accessories, warranty terms, compatibility, and seller information before paying.
This is particularly important for graphics cards, processors, motherboards, SSDs, and power supplies because similarly named products can have meaningful differences.
You can explore desktop PCs and related options in Pakistan through Victory Computer or contact the team for guidance on selecting compatible hardware for your planned build.
Frequently Asked Questions
How do I build a gaming PC in Pakistan?
Start by setting a budget and choosing a compatible CPU, motherboard, GPU, RAM, SSD, PSU, cooler, and case. Assemble the components carefully, perform a first-boot check, install Windows and official drivers, and then test temperatures and stability.
How much does it cost to build a gaming PC in Pakistan?
There is no single reliable fixed price because component prices and availability change. Your total depends mainly on the graphics card, processor, platform, memory, storage, cooling, PSU, and whether peripherals are included.
Is building a gaming PC cheaper than buying a prebuilt PC?
It can provide better control over where your budget is spent, but it is not automatically cheaper in every situation. Compare the complete cost, component quality, warranty, assembly, operating system, and support before deciding.
Is 16GB RAM enough for a gaming PC?
16GB remains a practical starting point for many gaming systems, while 32GB can be worthwhile for heavier multitasking, demanding games, content creation, or users who want additional memory headroom.
Should I spend more on the CPU or GPU for gaming?
For many gaming-focused builds, GPU performance deserves substantial priority, but the system should remain balanced. CPU-heavy games, competitive high-frame-rate gaming, streaming, and professional applications can justify investing more in the processor.
Can a beginner build a gaming PC?
Yes. Beginners can assemble a PC successfully by checking compatibility first and following the motherboard, case, cooler, GPU, and PSU manufacturer instructions carefully. If you are uncomfortable with assembly or troubleshooting, professional assembly is a reasonable alternative.
Final Buying Advice
Learning how to build a gaming PC in Pakistan is mainly about planning rather than simply purchasing expensive components. Decide your gaming resolution and budget first, choose a balanced CPU and GPU, verify every compatibility point, use a suitable power supply and cooling setup, and only then begin assembly.
A well-planned gaming PC also gives you a clear upgrade path. RAM and storage can often be expanded, graphics cards can be replaced, and other components can be upgraded as your requirements change—provided the original platform, case, cooling, and power supply were selected with future needs in mind.
For current gaming PC and desktop options, component guidance, or help choosing a configuration, visit Victory Computer Pakistan or contact Victory Computer in Lahore via WhatsApp at 0300 9466881.
One thought on “How to Build a Gaming PC in Pakistan Step by Step Guide by Victory Computers”